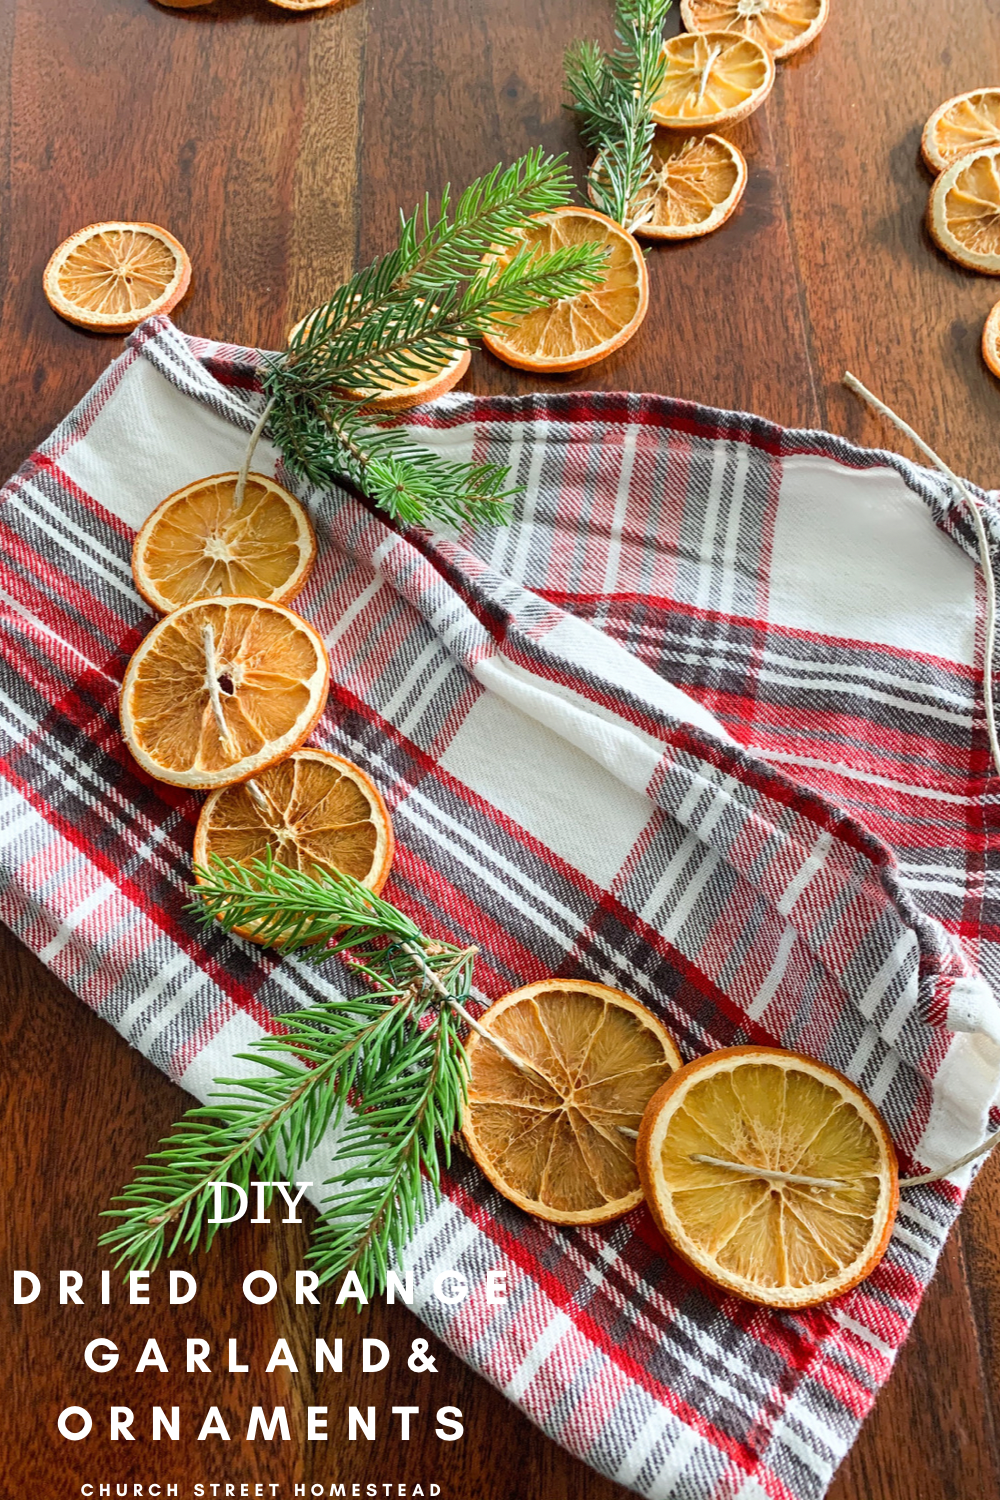
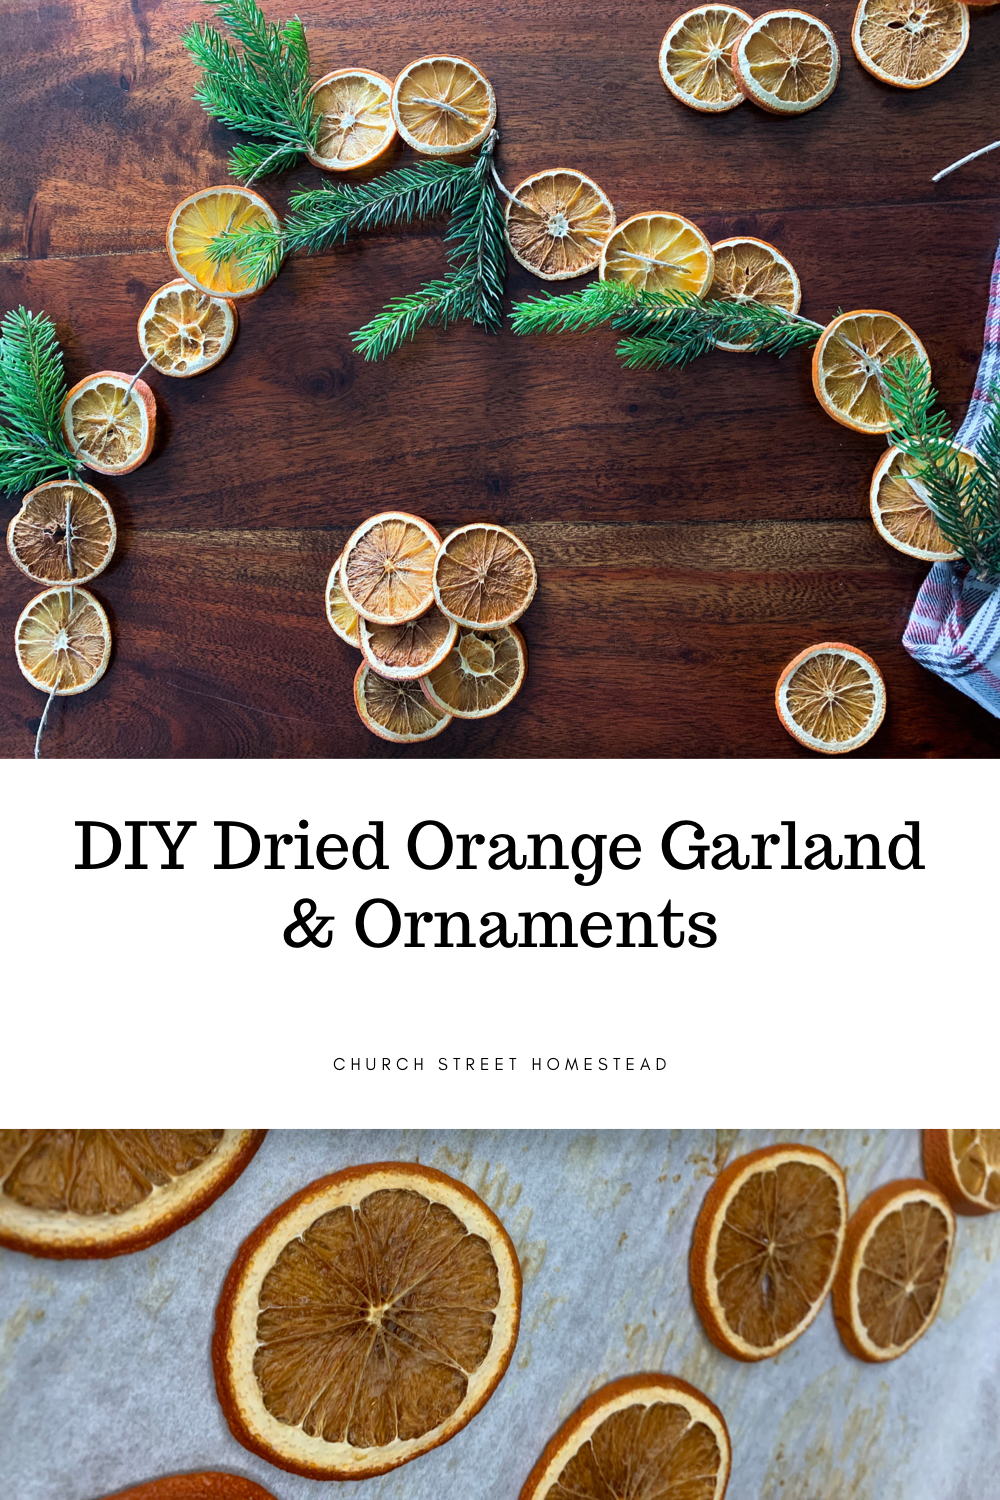
Read more to learn how to make this DIY Dried Orange Garland & Ornaments to decorate your home with! This easy DIY is minimal material, cost-effective, and a super adorable decoration to add to your home or give as a gift to family and friends!
It’s been crazy around here on the homestead getting ready for the best time of year: Christmas.
The tree is going up, stockings are being hung, the nativity scene is being set out, and garlands are going up.
I believe Christmas decor doesn’t have to be expensive, and hand making the decorations makes Christmas traditions all the more special. Making homemade Christmas decorations just makes Christmas look all the more special, but most importantly doesn’t break the bank.
This Dried Orange Garland and Ornaments bring the perfect touch to your Christmas spirit in your home, and is super fun to make!
WHY DO I NEED A DRIED ORANGE GARLAND AND ORNAMENTS FOR MY HOME?
- This orange garland is the easiest garland you will ever make. It just takes a few simple items that you probably already have around your home, which means convienent!
- It’s cost-effective. As said before you probably have the tools needed to make it around the home already. If you don’t, the materials don’t cost that much anyways!
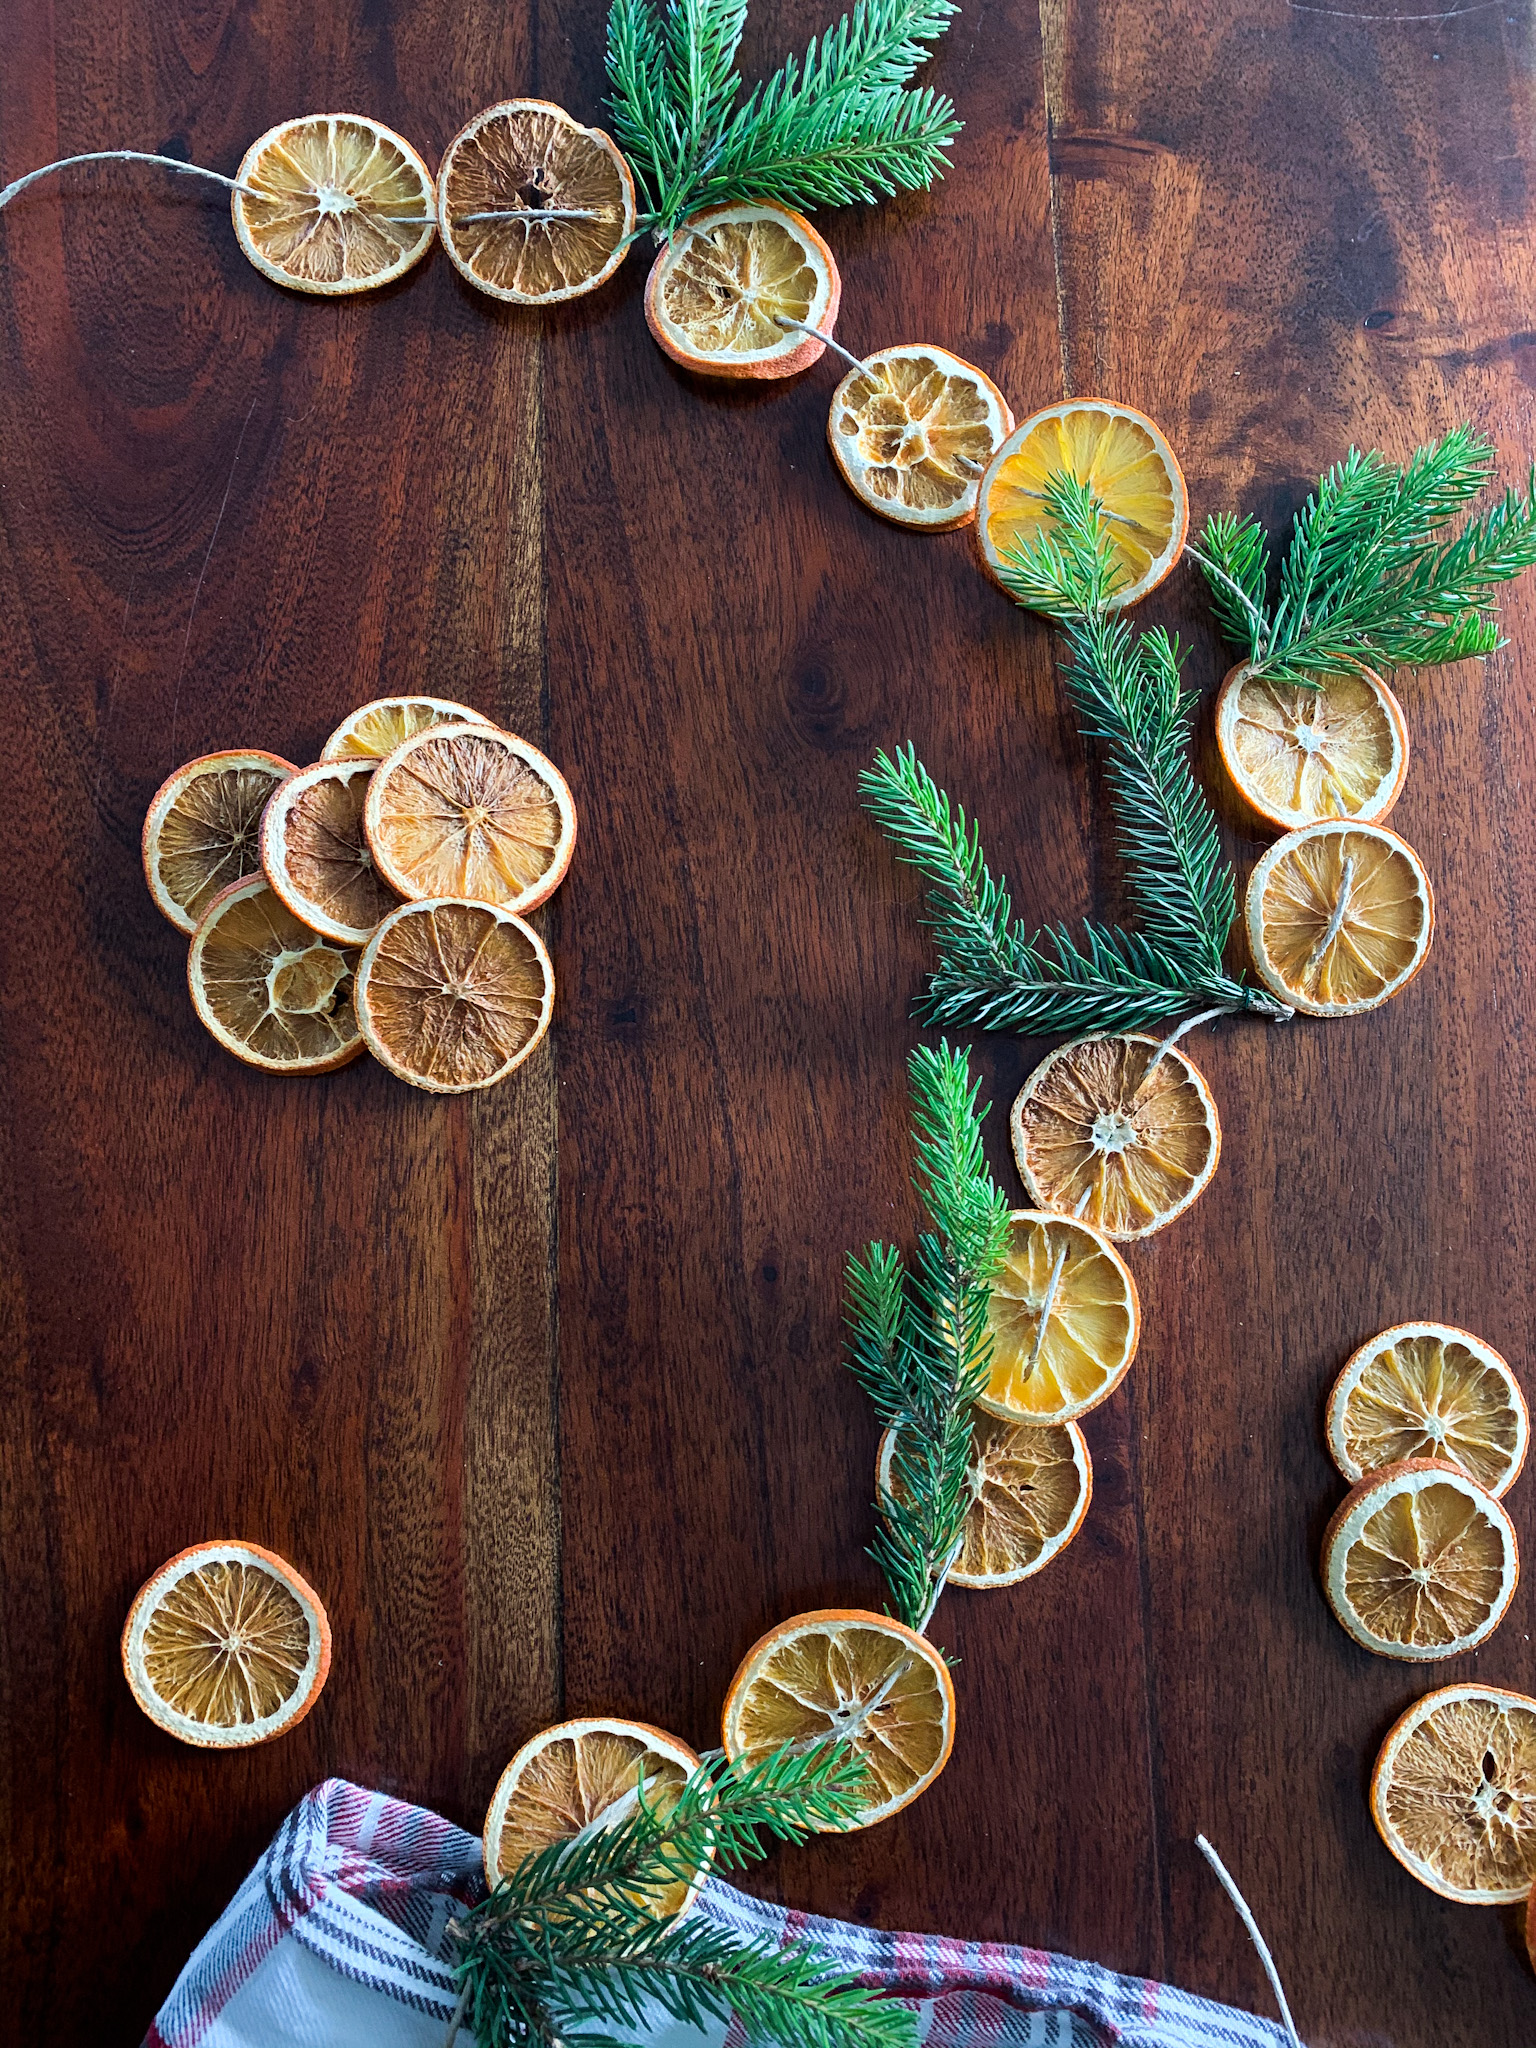
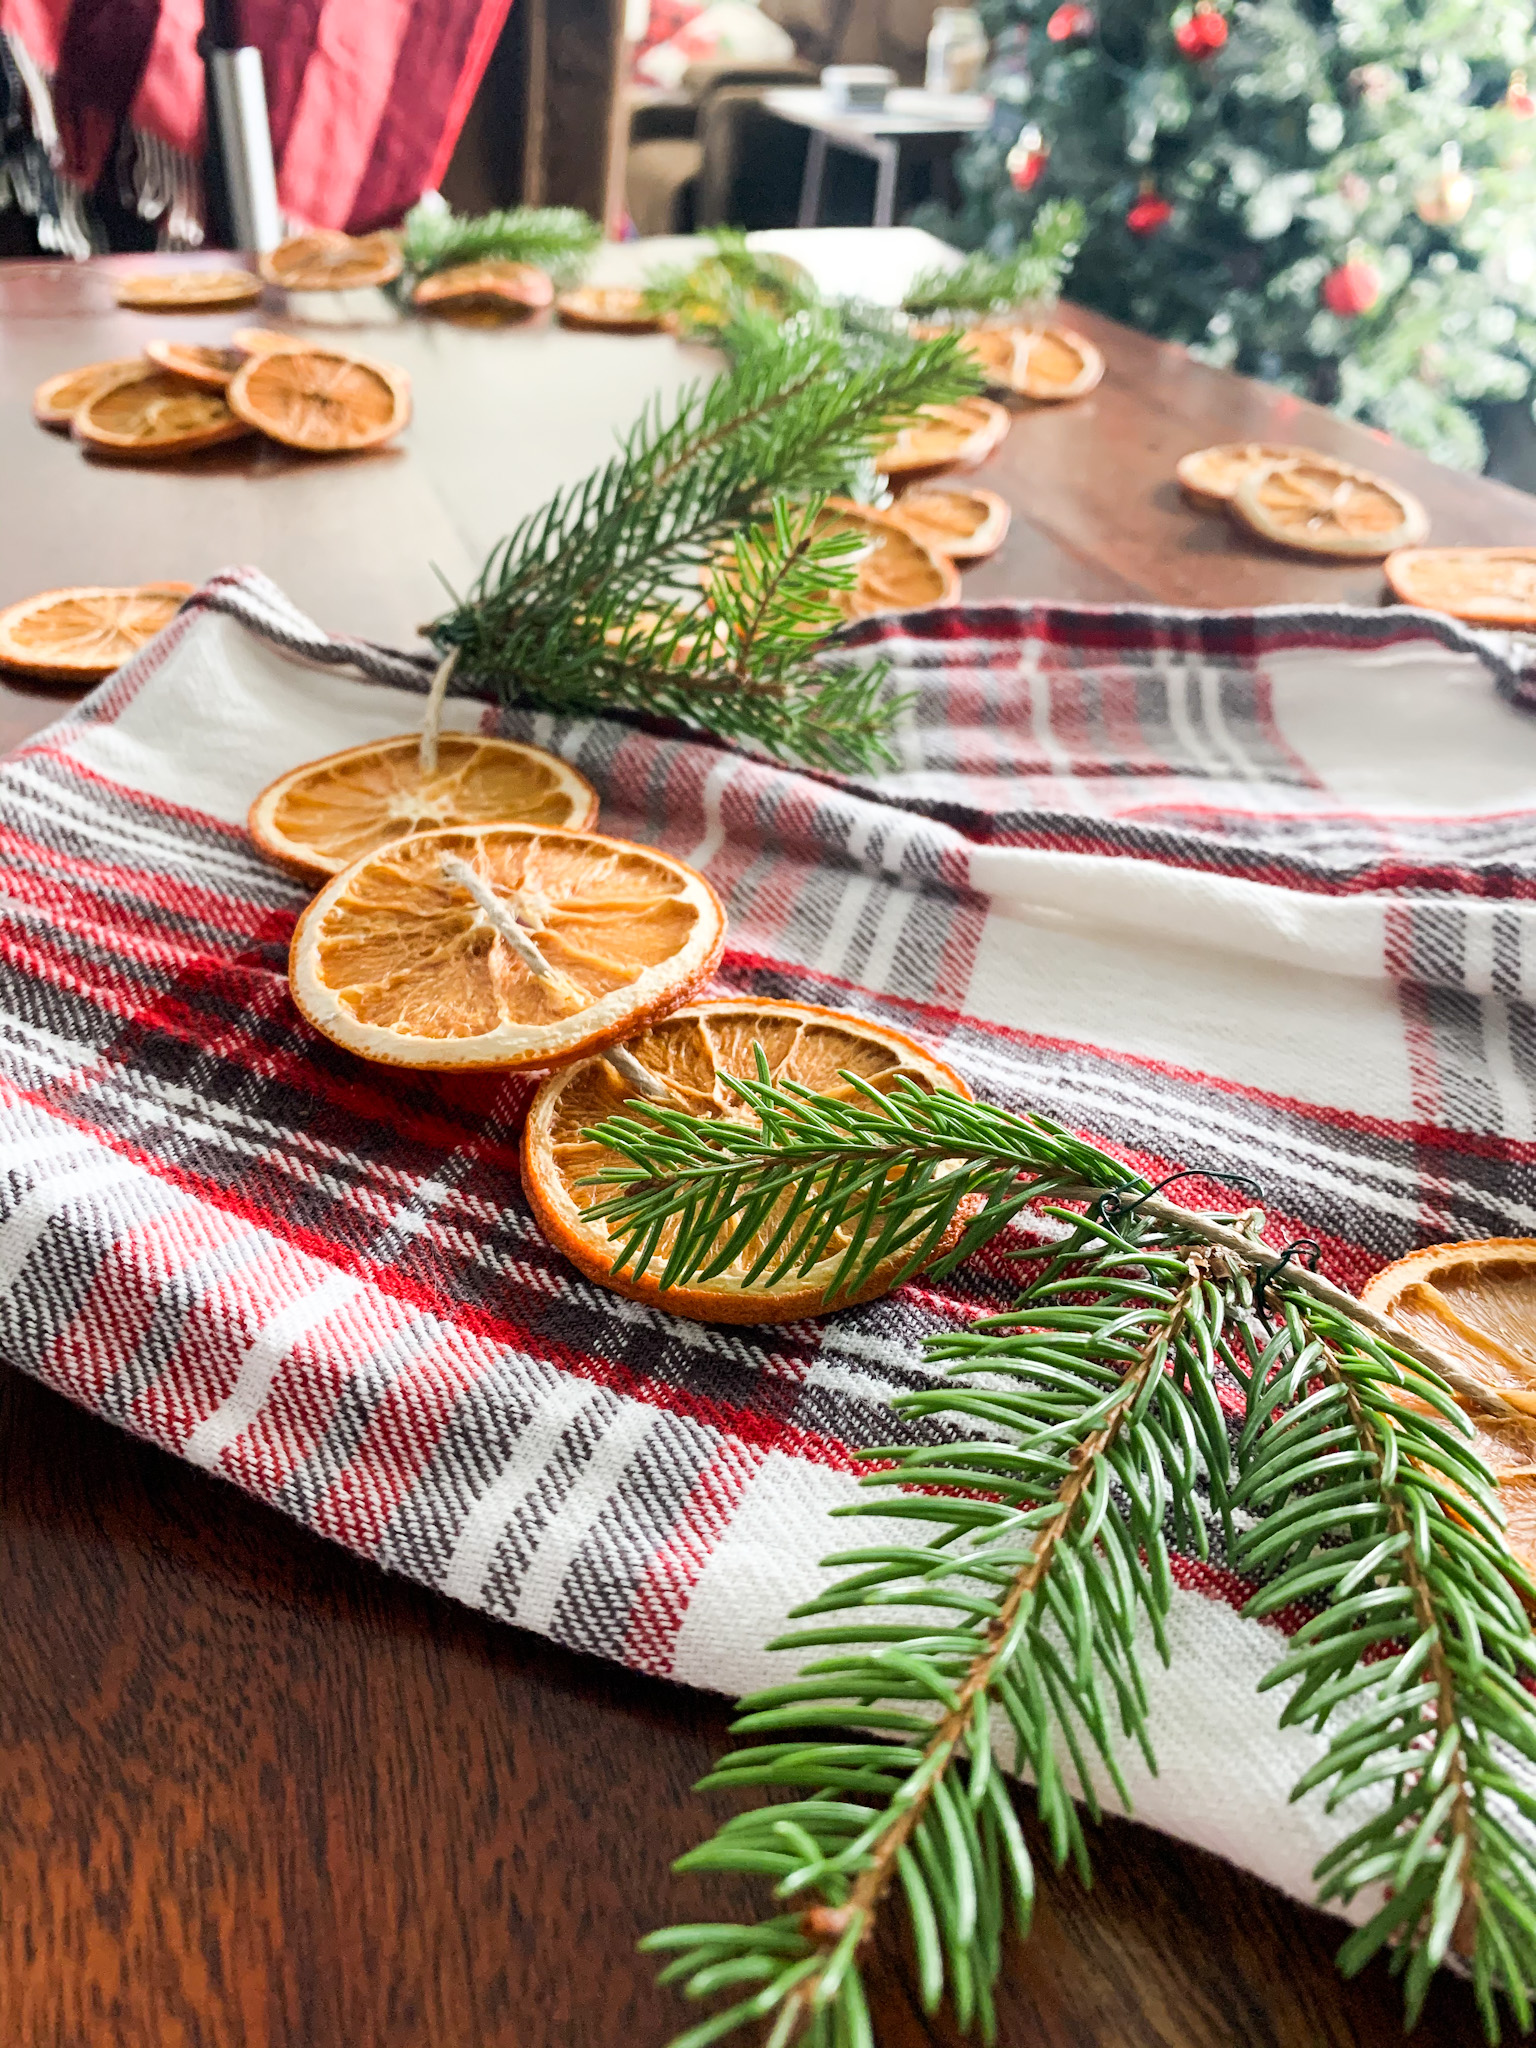
- It’s Beautiful. The crispness of the orange shines beautifully when the sun hits. Mixed with greenery and it becomes the most gorgeous piece in the home.
HOW LONG WILL THE ORANGE GARLAND AND ORNAMENTS LAST?
The orange slices will last up to about 2 years!
WHAT GREENERY TO USE
You could use any greenery you like. I love pine, so I was able to cut some branches off some trees and used the pine from that! Eucalyptus would also be a great alternative to the greenery, and would be absolutely beautiful.
This post contains affiliate links which means I make a small commission at no cost to you. See my full disclosure here.
SUPPLIES YOU NEED FOR THE GARLAND
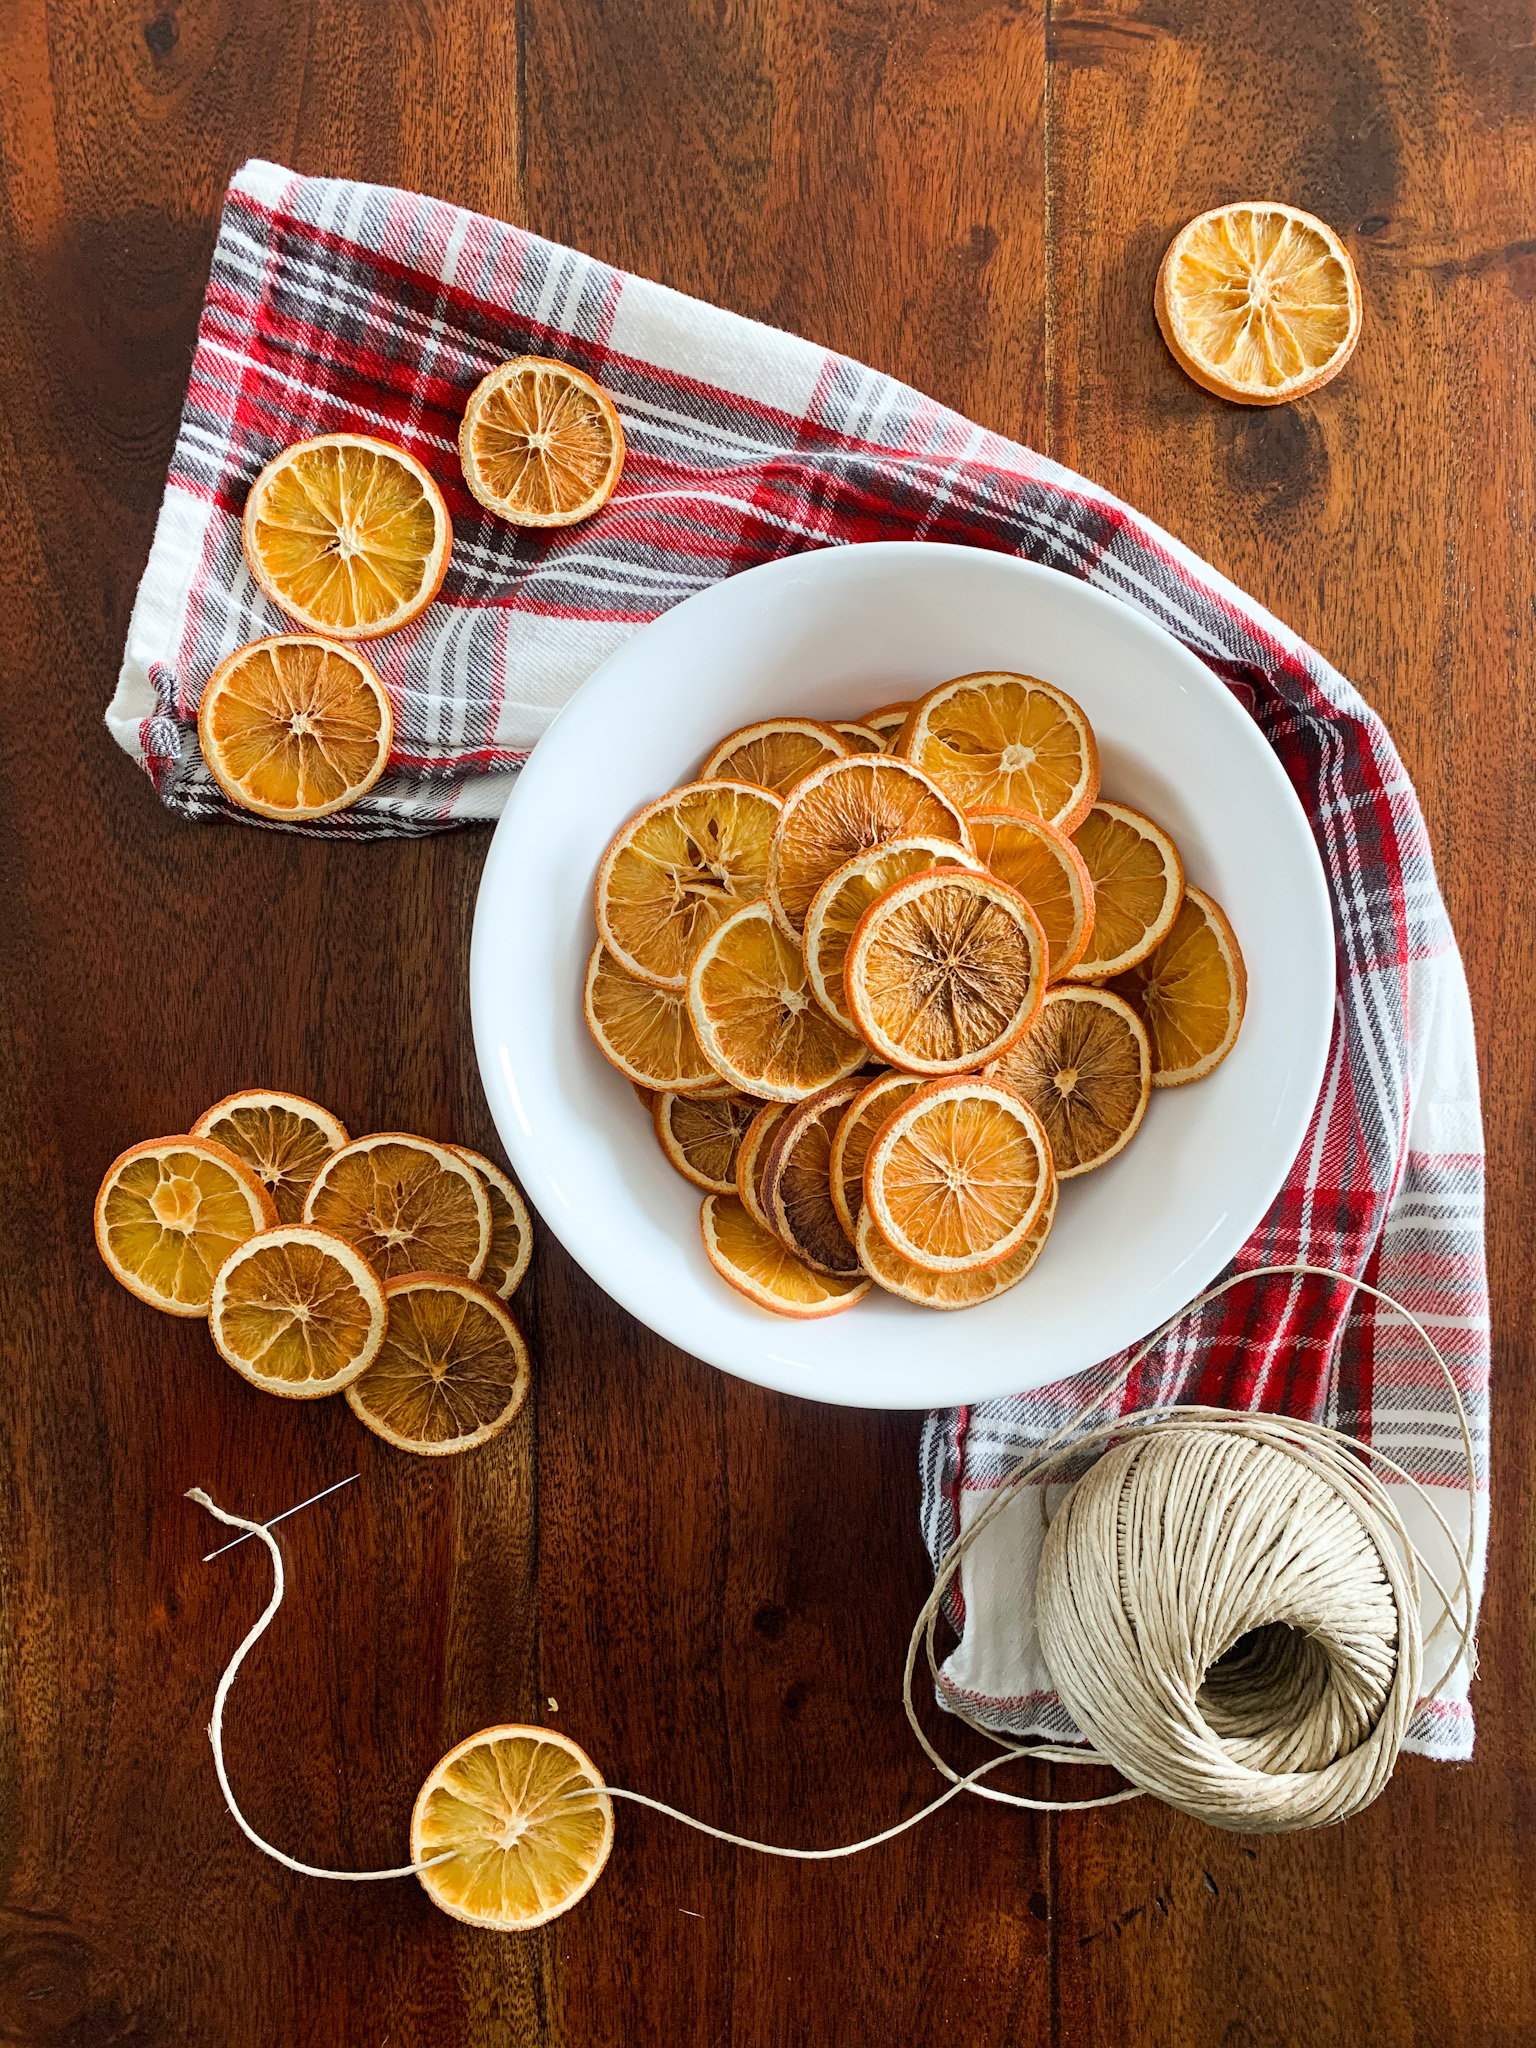
Oranges sliced 1/8th inch
Pine (or other greenery)
Floral Wire (green)
SUPPLIES YOU WILL NEED FOR THE ORNAMENT
Orange sliced 1/8th inch
Added floral or beads of choice
SUPPLIES YOU NEED TO BAKE THE ORANGES
Parchment Paper
Rag to pat dry orange slices
TIPS TO DRYING THE ORANGE SLICES
The best outcome for drying oranges and not being in the kitchen all day is to pat dry the orange slices. Try to get as much moisture out as you can from the slices for that will only speed up the process of drying them out in the oven.
Slice the oranges as thin as you can. You don’t want them too thick because it will take them longer to dry out.
HOW LONG DOES IT TAKE TO DRY THE ORANGE SLICES?
It takes between 2-6 hours to dry the oranges fully. Depending on how big you slice them will depend on how long it takes for the oranges to dry. You want to make sure the oranges are dry so you don’t create fit flies in the house or it molds.
HOW TO MAKE THE DRIED ORANGE GARLAND

- Set the oven to 200 degrees.
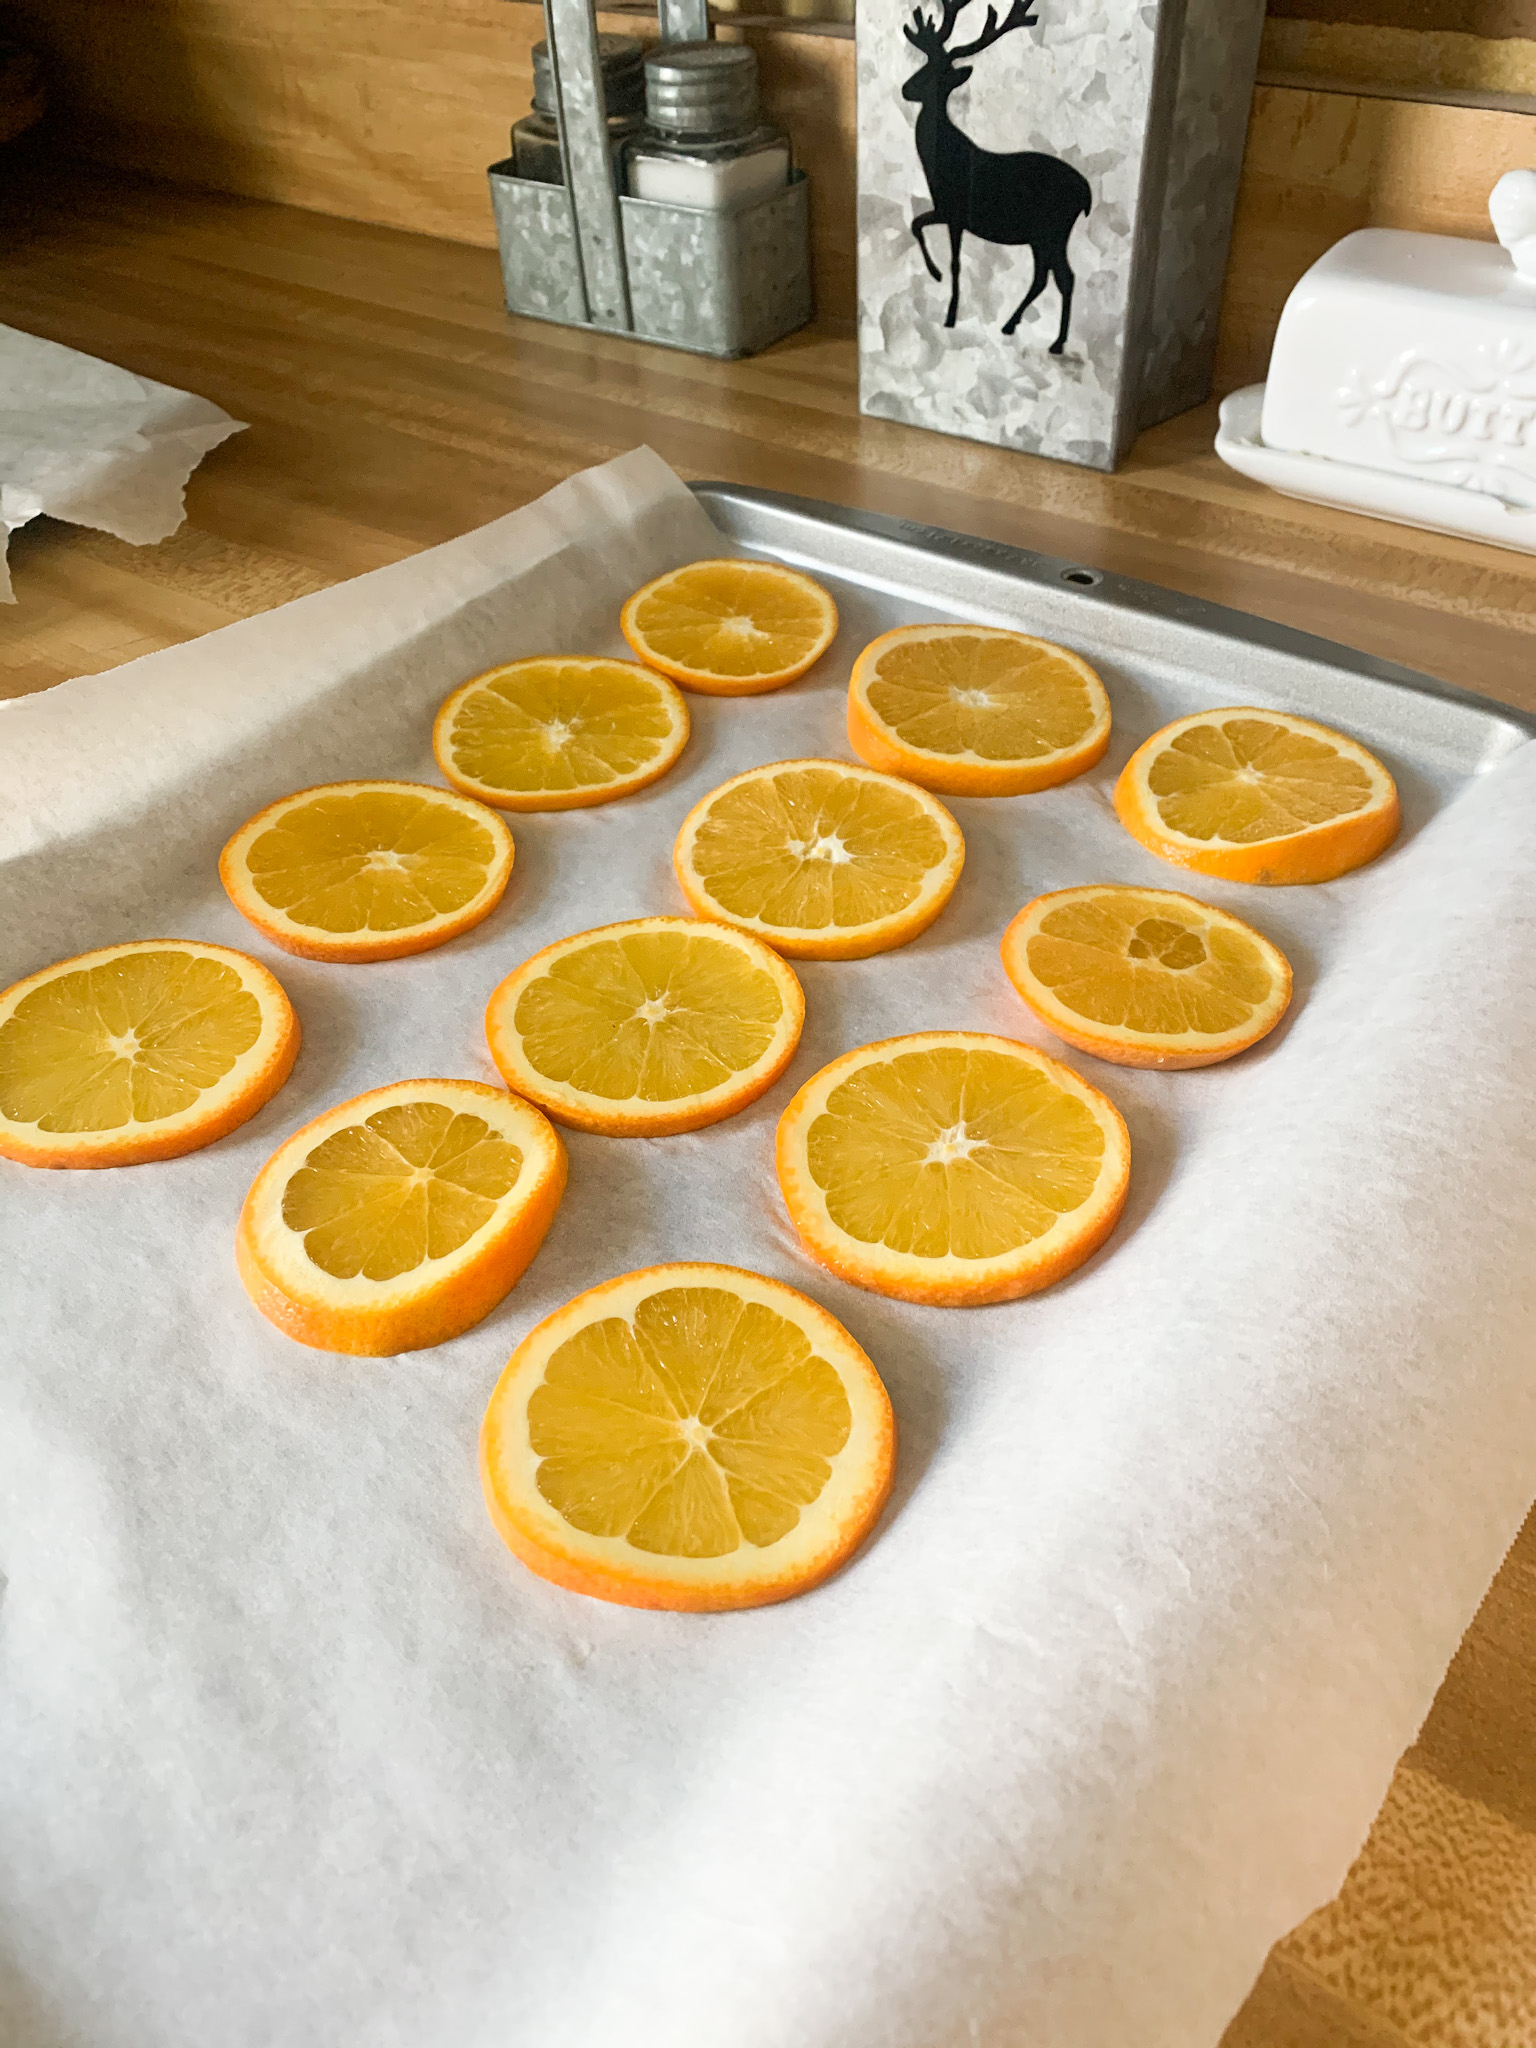
- Slice oranges 1/8th inch thick. Tip: use a fork to hold the end of the orange instead of your hands.
- Line a cookie sheet with parchment paper. Set the orange slices on the parchment paper, as many as you can fit.
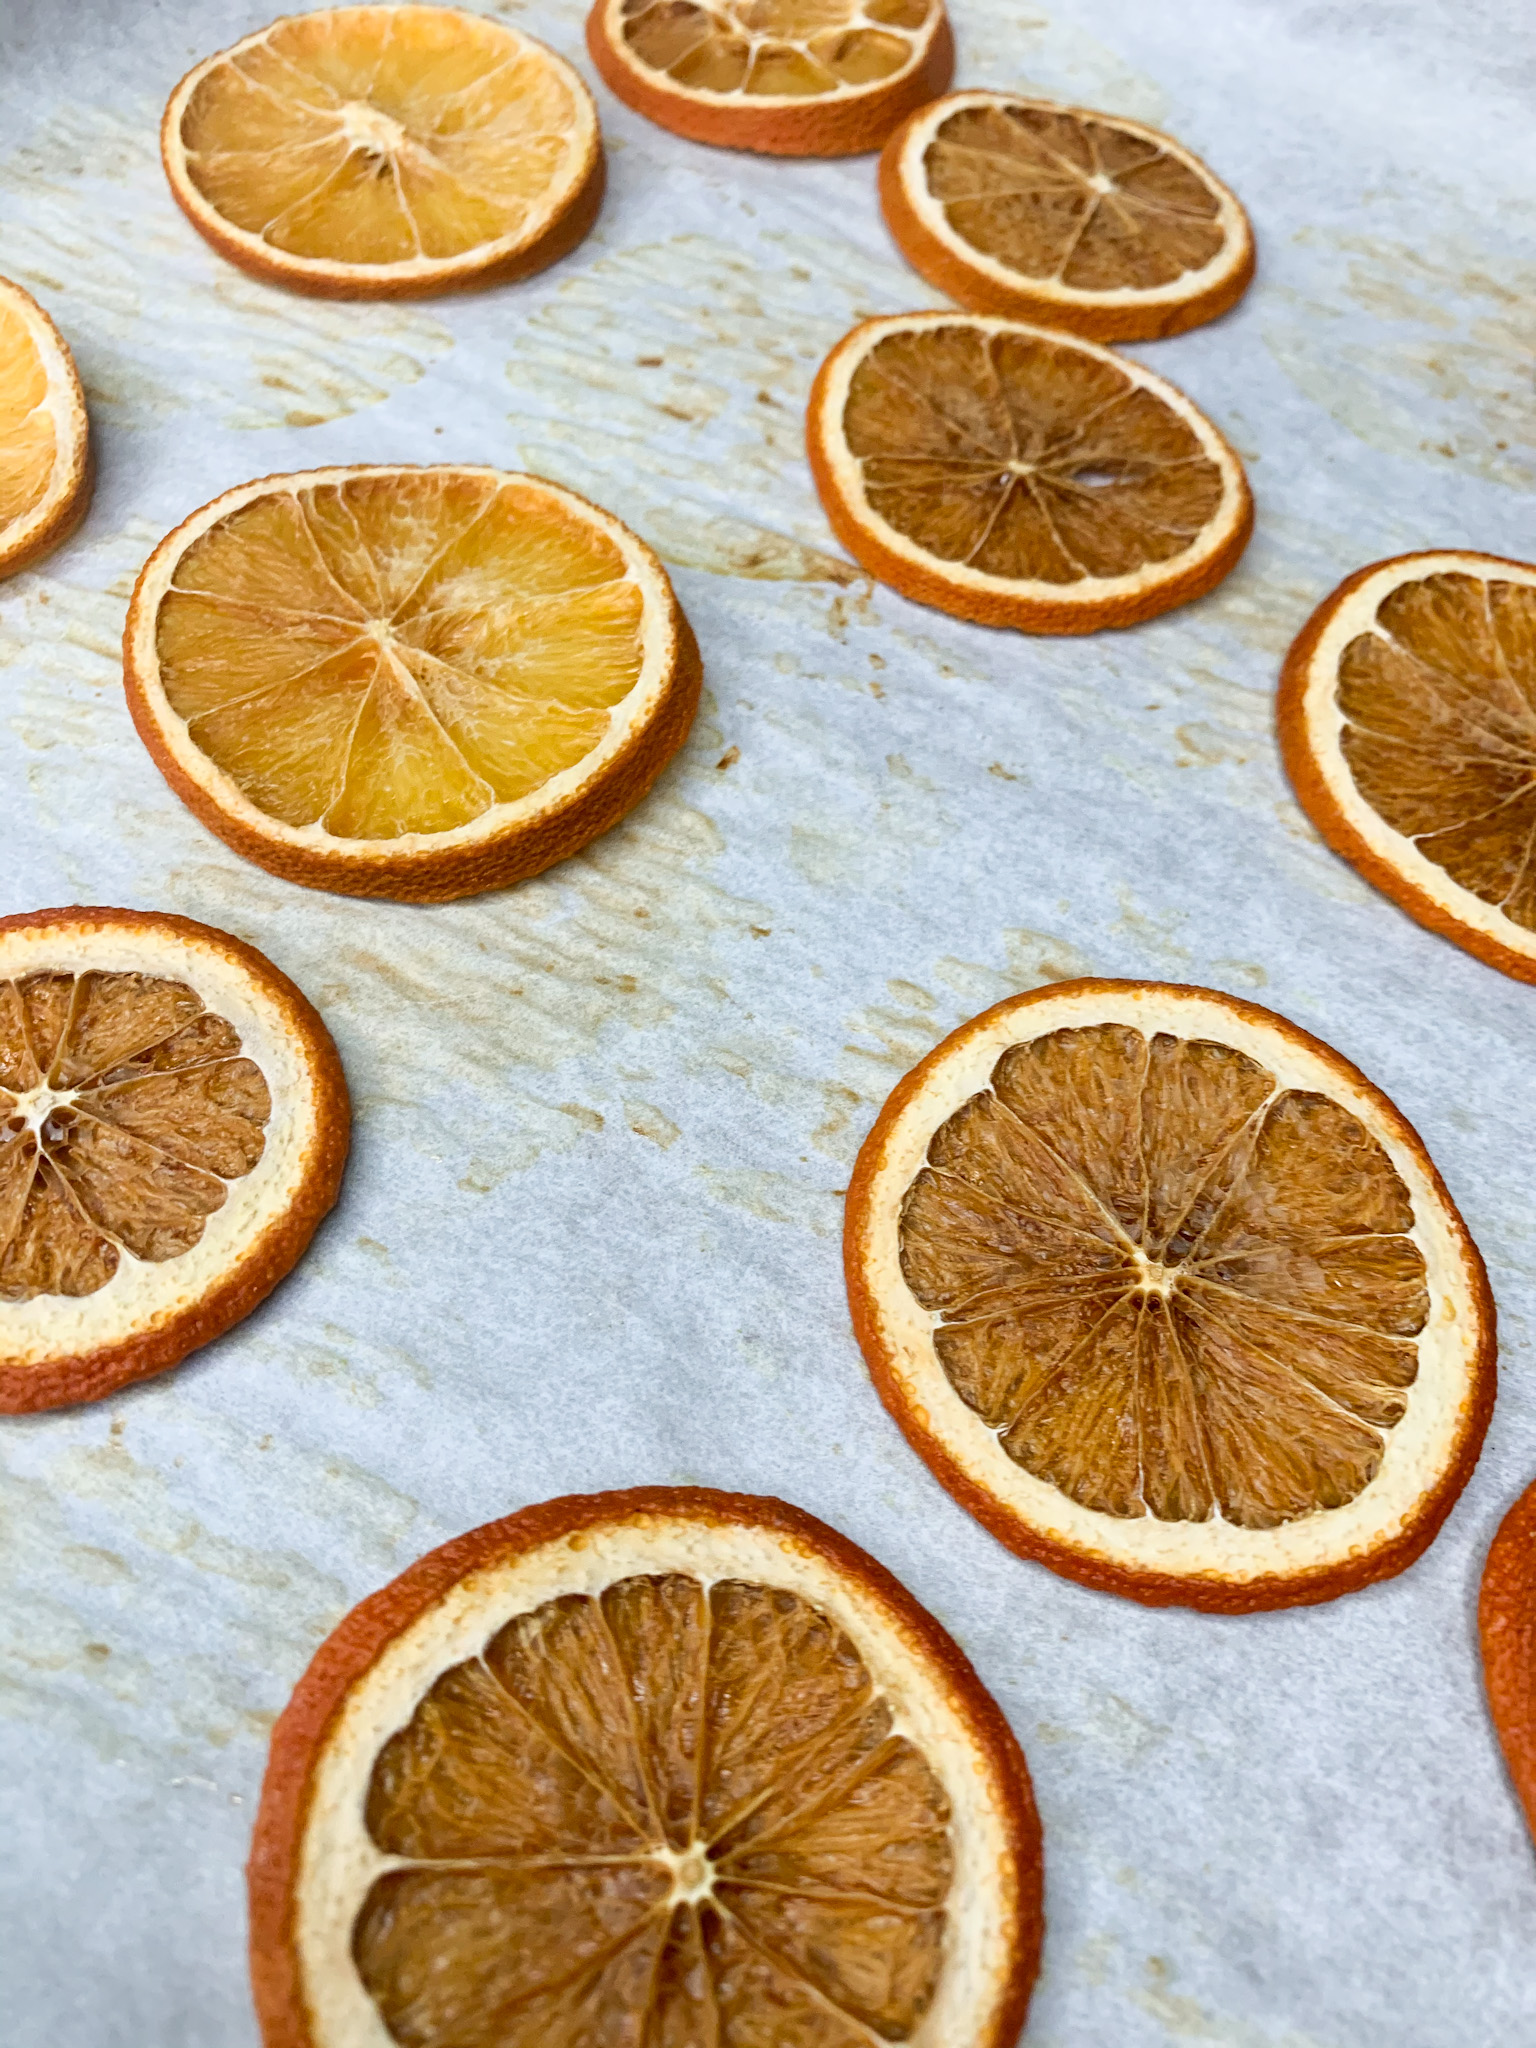
4. Put the sheet of orange slices in the oven. Flip the oranges every 40 minutes for the next 2-6 hours.
5. Once the oranges are dried, you can start making the garland. Use a needle to poke through the oranges to bring the twine or the yarn through.
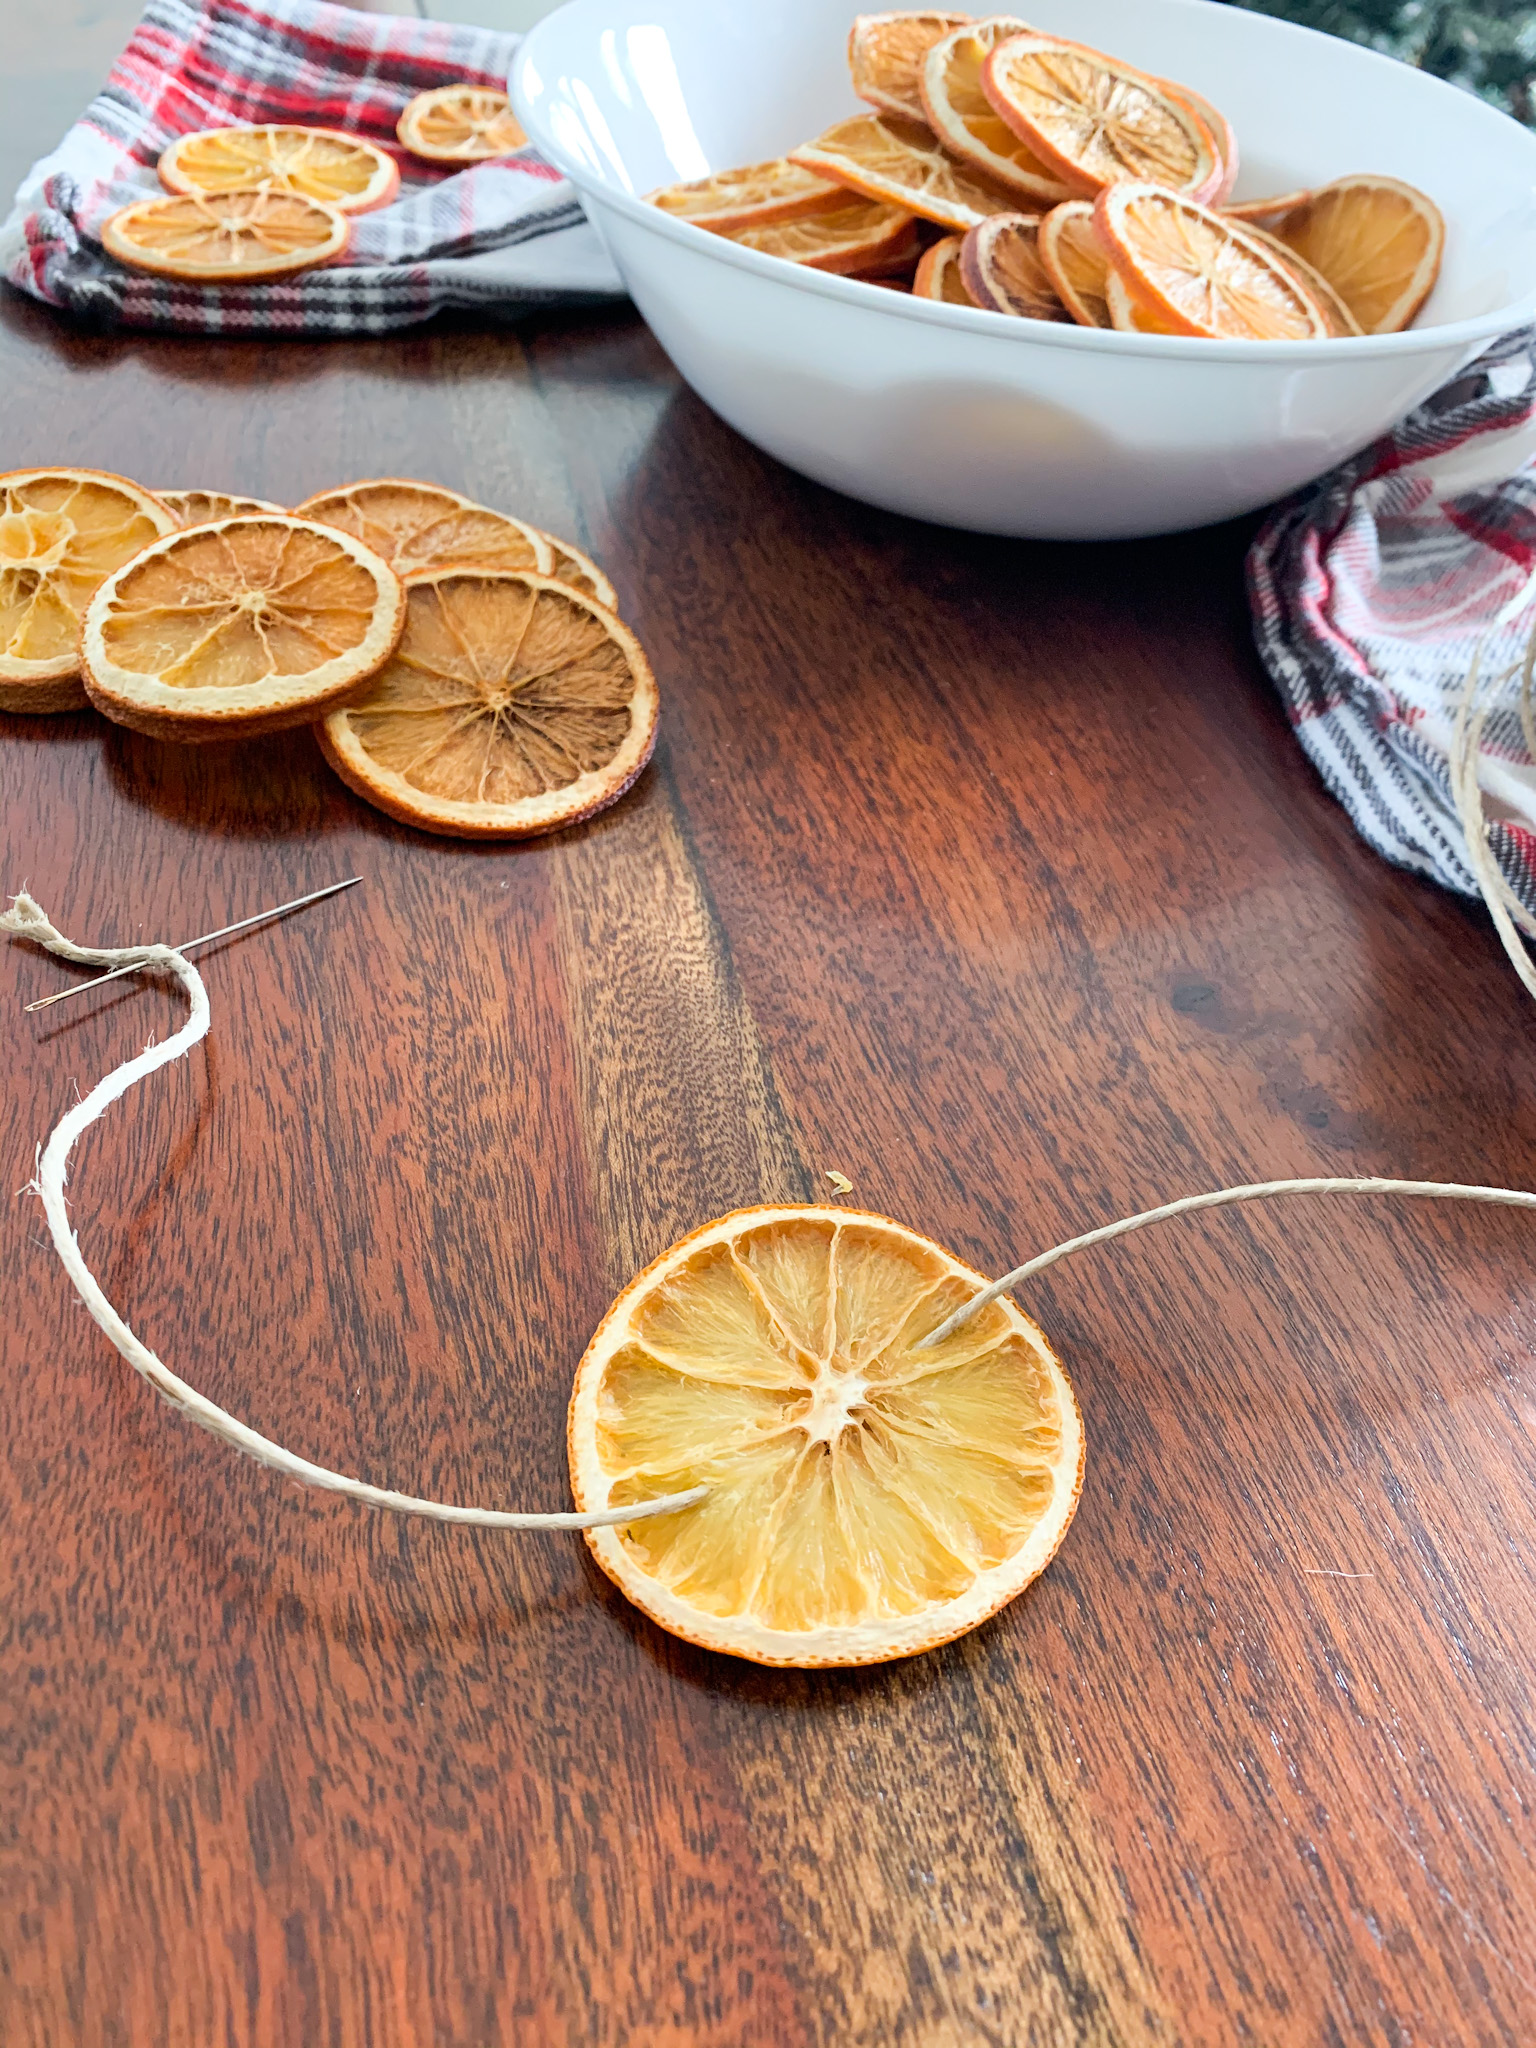
6. Put as many oranges on as you want. You can make the garland all oranges or can add in greenery to make it pop.
7. To put greenery on the garland, cut the length of greenery you prefer. On the garland place the greenery where you want it, then wrap it on the twine with floral wire.

8. Once the garland is done, hang it wherever you want! This garland can look however you want it to look with less or more oranges and the same with greenery.

HOW TO MAKE THE DRIED ORANGE ORNAMENT
- Use the needle to poke a hole through the orange somewhere around the rhine.

2. Pull the twine or yarn through the hole.
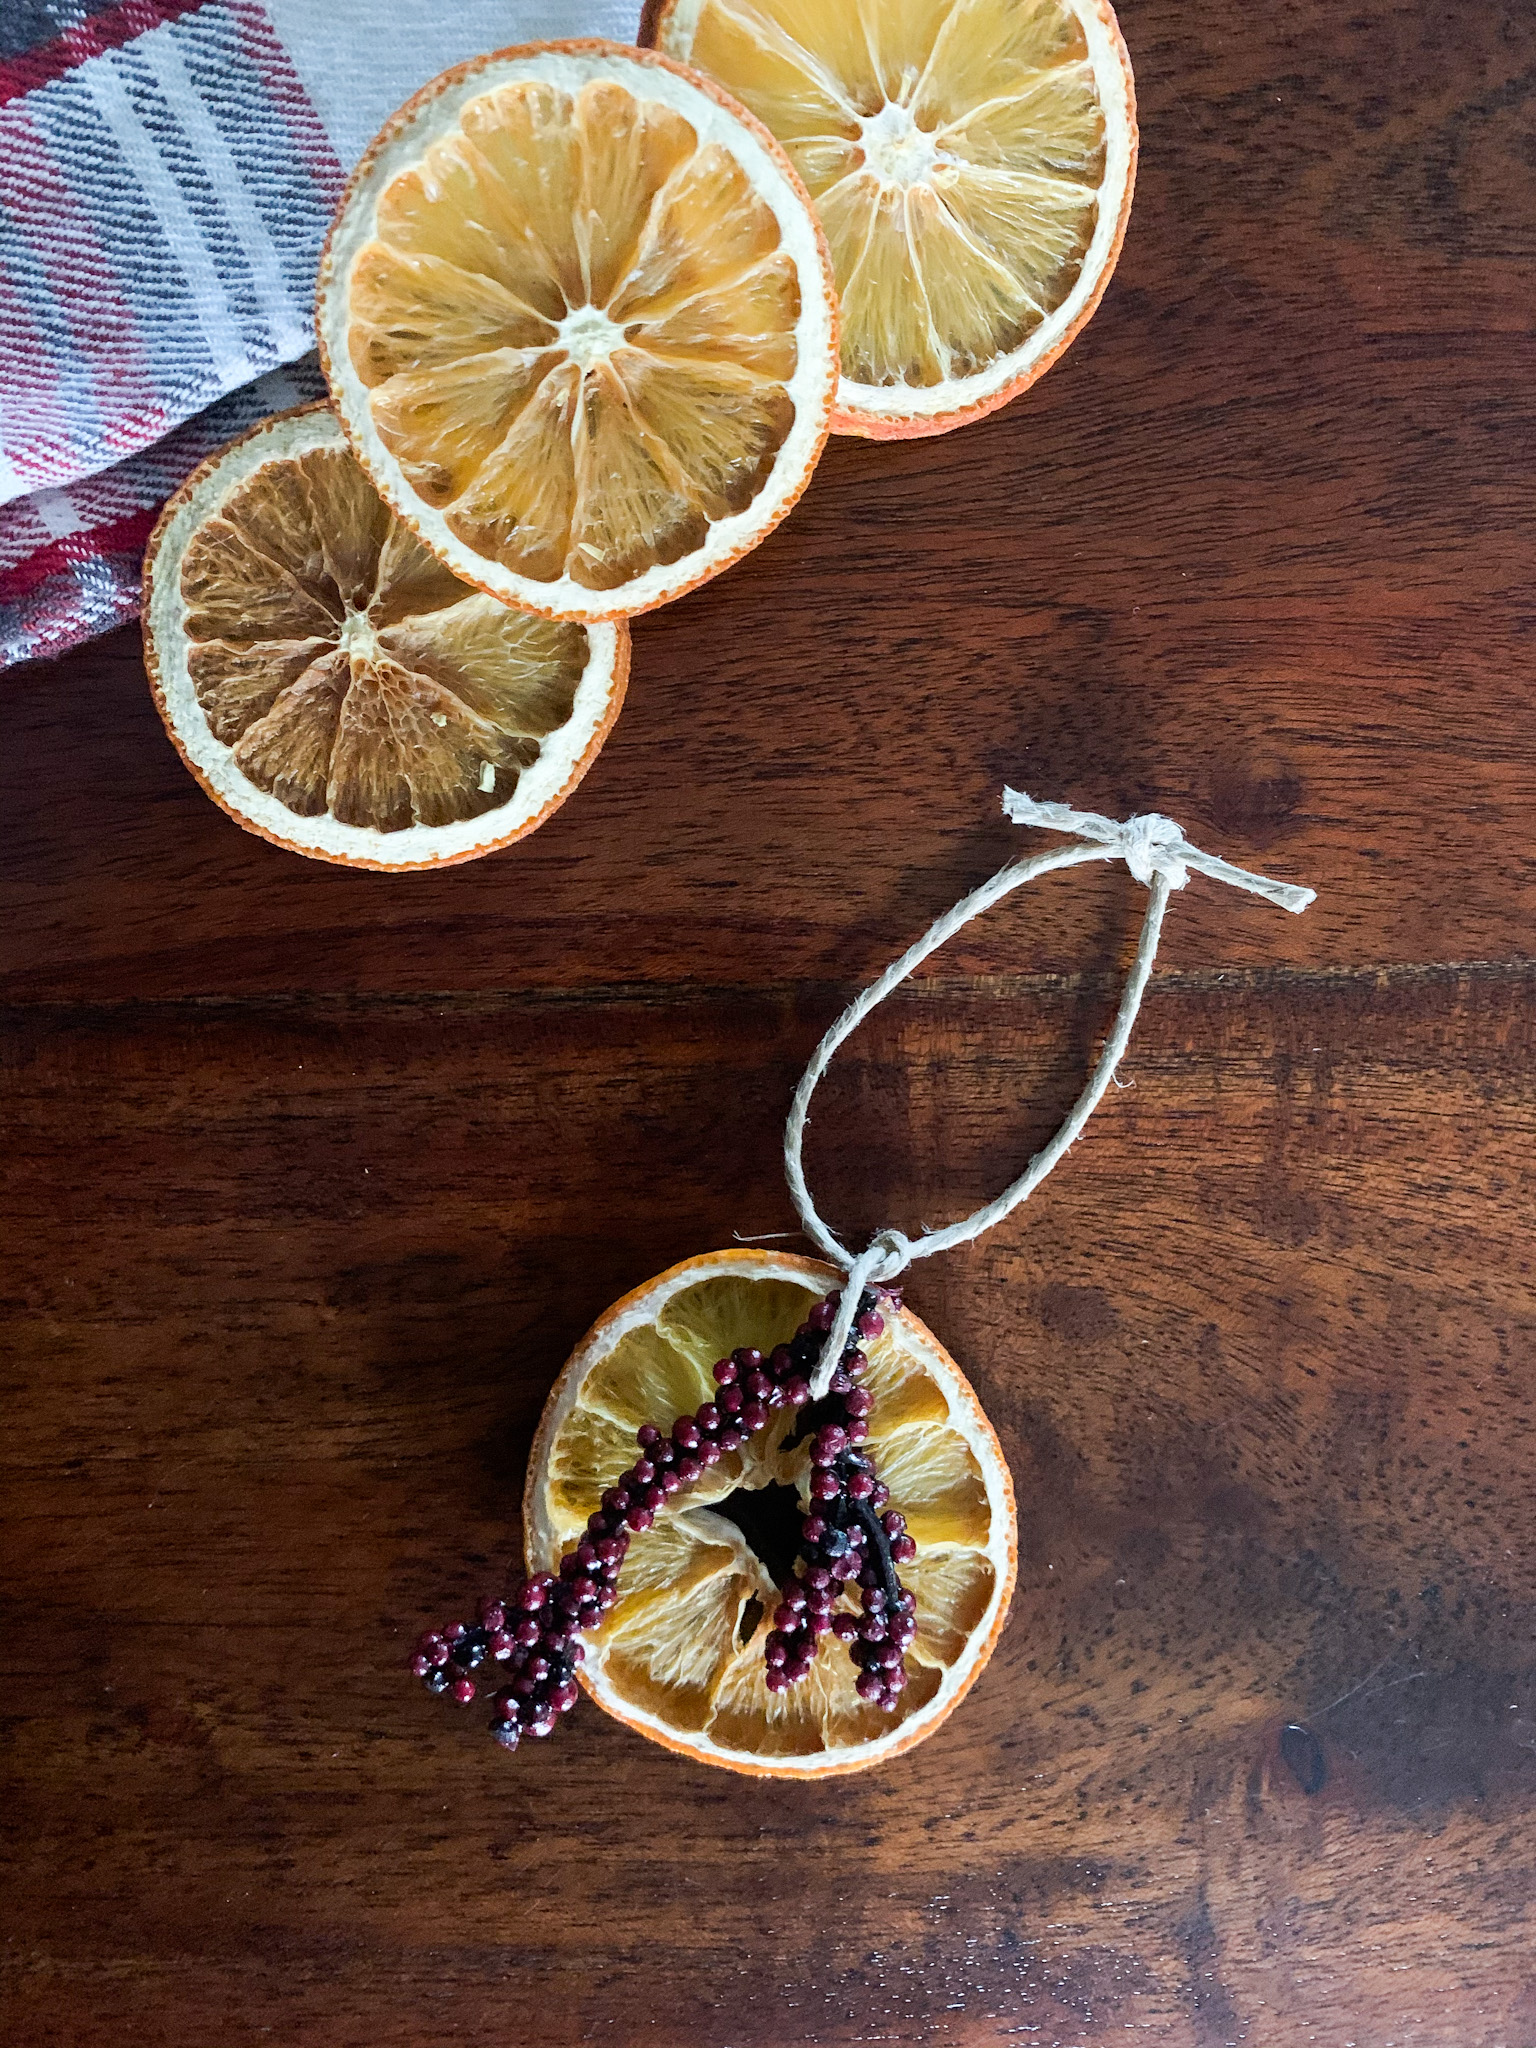
3. Tie a piece of floral onto the orange.

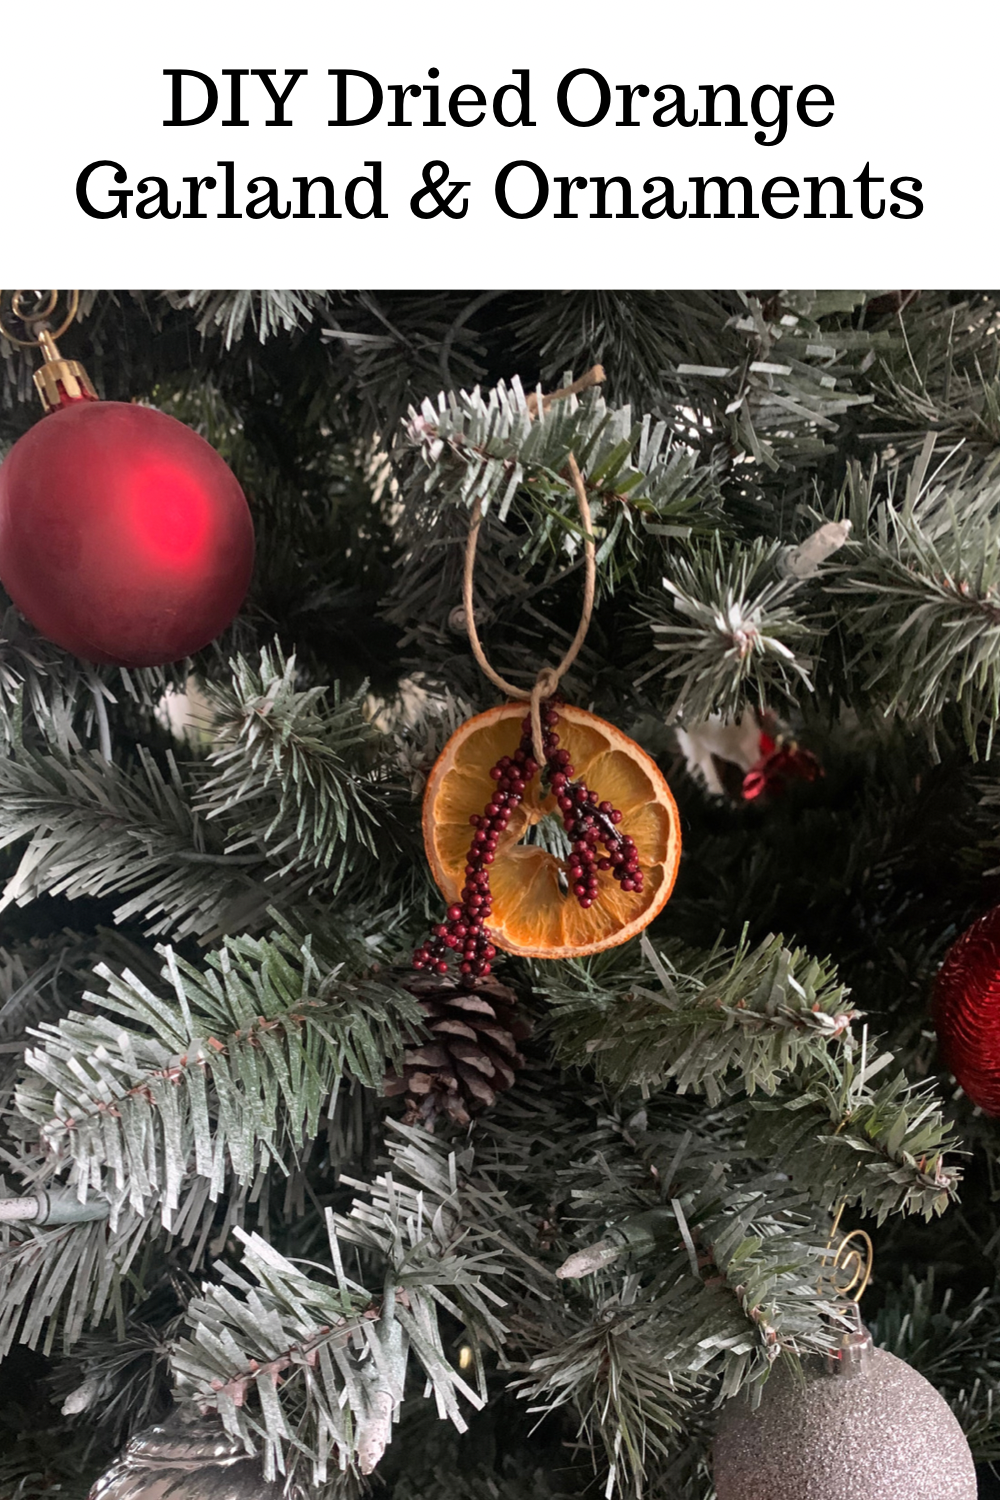
4. Tie the ends together and you have an ornament! You can truly make the ornament any way you want adding greenery or any type of floral to it!
DIY Dried Orange Garland
Materials
- 1 bag Oranges Sliced thin
Instructions
- Set the oven to 200 degrees.
- Slice oranges 1/8th inch thick. Tip: use a fork to hold the end of the orange instead of your hands.
- Line a cookie sheet with parchment paper. Set the orange slices on the parchment paper, as many as you can fit.
- Put the sheet of orange slices in the oven. Flip the oranges every 40 minutes for the next 2-6 hours.
- Once the oranges are dried, you can start making the garland. Use a needle to poke through the oranges to bring the twine or the yarn through.
- Put as many oranges on the twine as you want. You can make the garland all oranges or can add in greenery to make it pop.
- To put greenery on the garland, cut the length of greenery you prefer. On the garland place the greenery where you want it, then wrap it on the twine with floral wire.
- Once the garland is done, hang it wherever you want! This garland can look however you want it to look with less or more oranges and the same with greenery.
PIN IT FOR LATER
DRIED ORANGE ORNAMENT

I love it! Super cute idea!!
I have a bunch of oranges, so I might just have to try this !:)
your pictures are amazing I tried this recipe it is a good one
Your garland looks beautiful! And I really love the ornaments paired with the cranberries. Lovely! I will have to try adding cranberries to mine.